

Tutorial: The Third Hand - All The Cool Kids Are Doing It
Rappelling carries inherent risk. There are several gaps in the system, but the one we’re going to discuss today is the lack of redundancy. If your hand slips or you loose control of your descent speed, things could quickly become catastrophic. Fortunately, there is an easy solution for it; strongly consider backing up your rappel with a ‘third hand.’
There are four methods to cover. Each has their own advantages, disadvantages, and some not so obvious hazards. Learn the Fireman’s, the Preset, the Leg Loop, and the Extended to have a comprehensive and adaptive skillset.
But first it seems prudent to provide a brief overview of friction hitches.
Friction Hitches
The Classic Prusik, the Klemheist, and the Autoblock all function with the same basic principle. A loop of cord wrapped around the rope will slide or ‘mind’ along the rope when it is slack and it will hold or ‘block’ on the rope when under tension. The Classic Prusik and the Klemheist function very similarly with high friction, and the Autoblock applies less friction. Generally speaking, three wraps will be the magic number, but differences in the diameter and stiffness of both the rope and cord will dictate how many wraps you need. More wraps, more friction. Note: Always test your hitch before detaching your personal anchor, and consider a backup knot when working hands free on rappel.

The Classic Prusik is high friction .
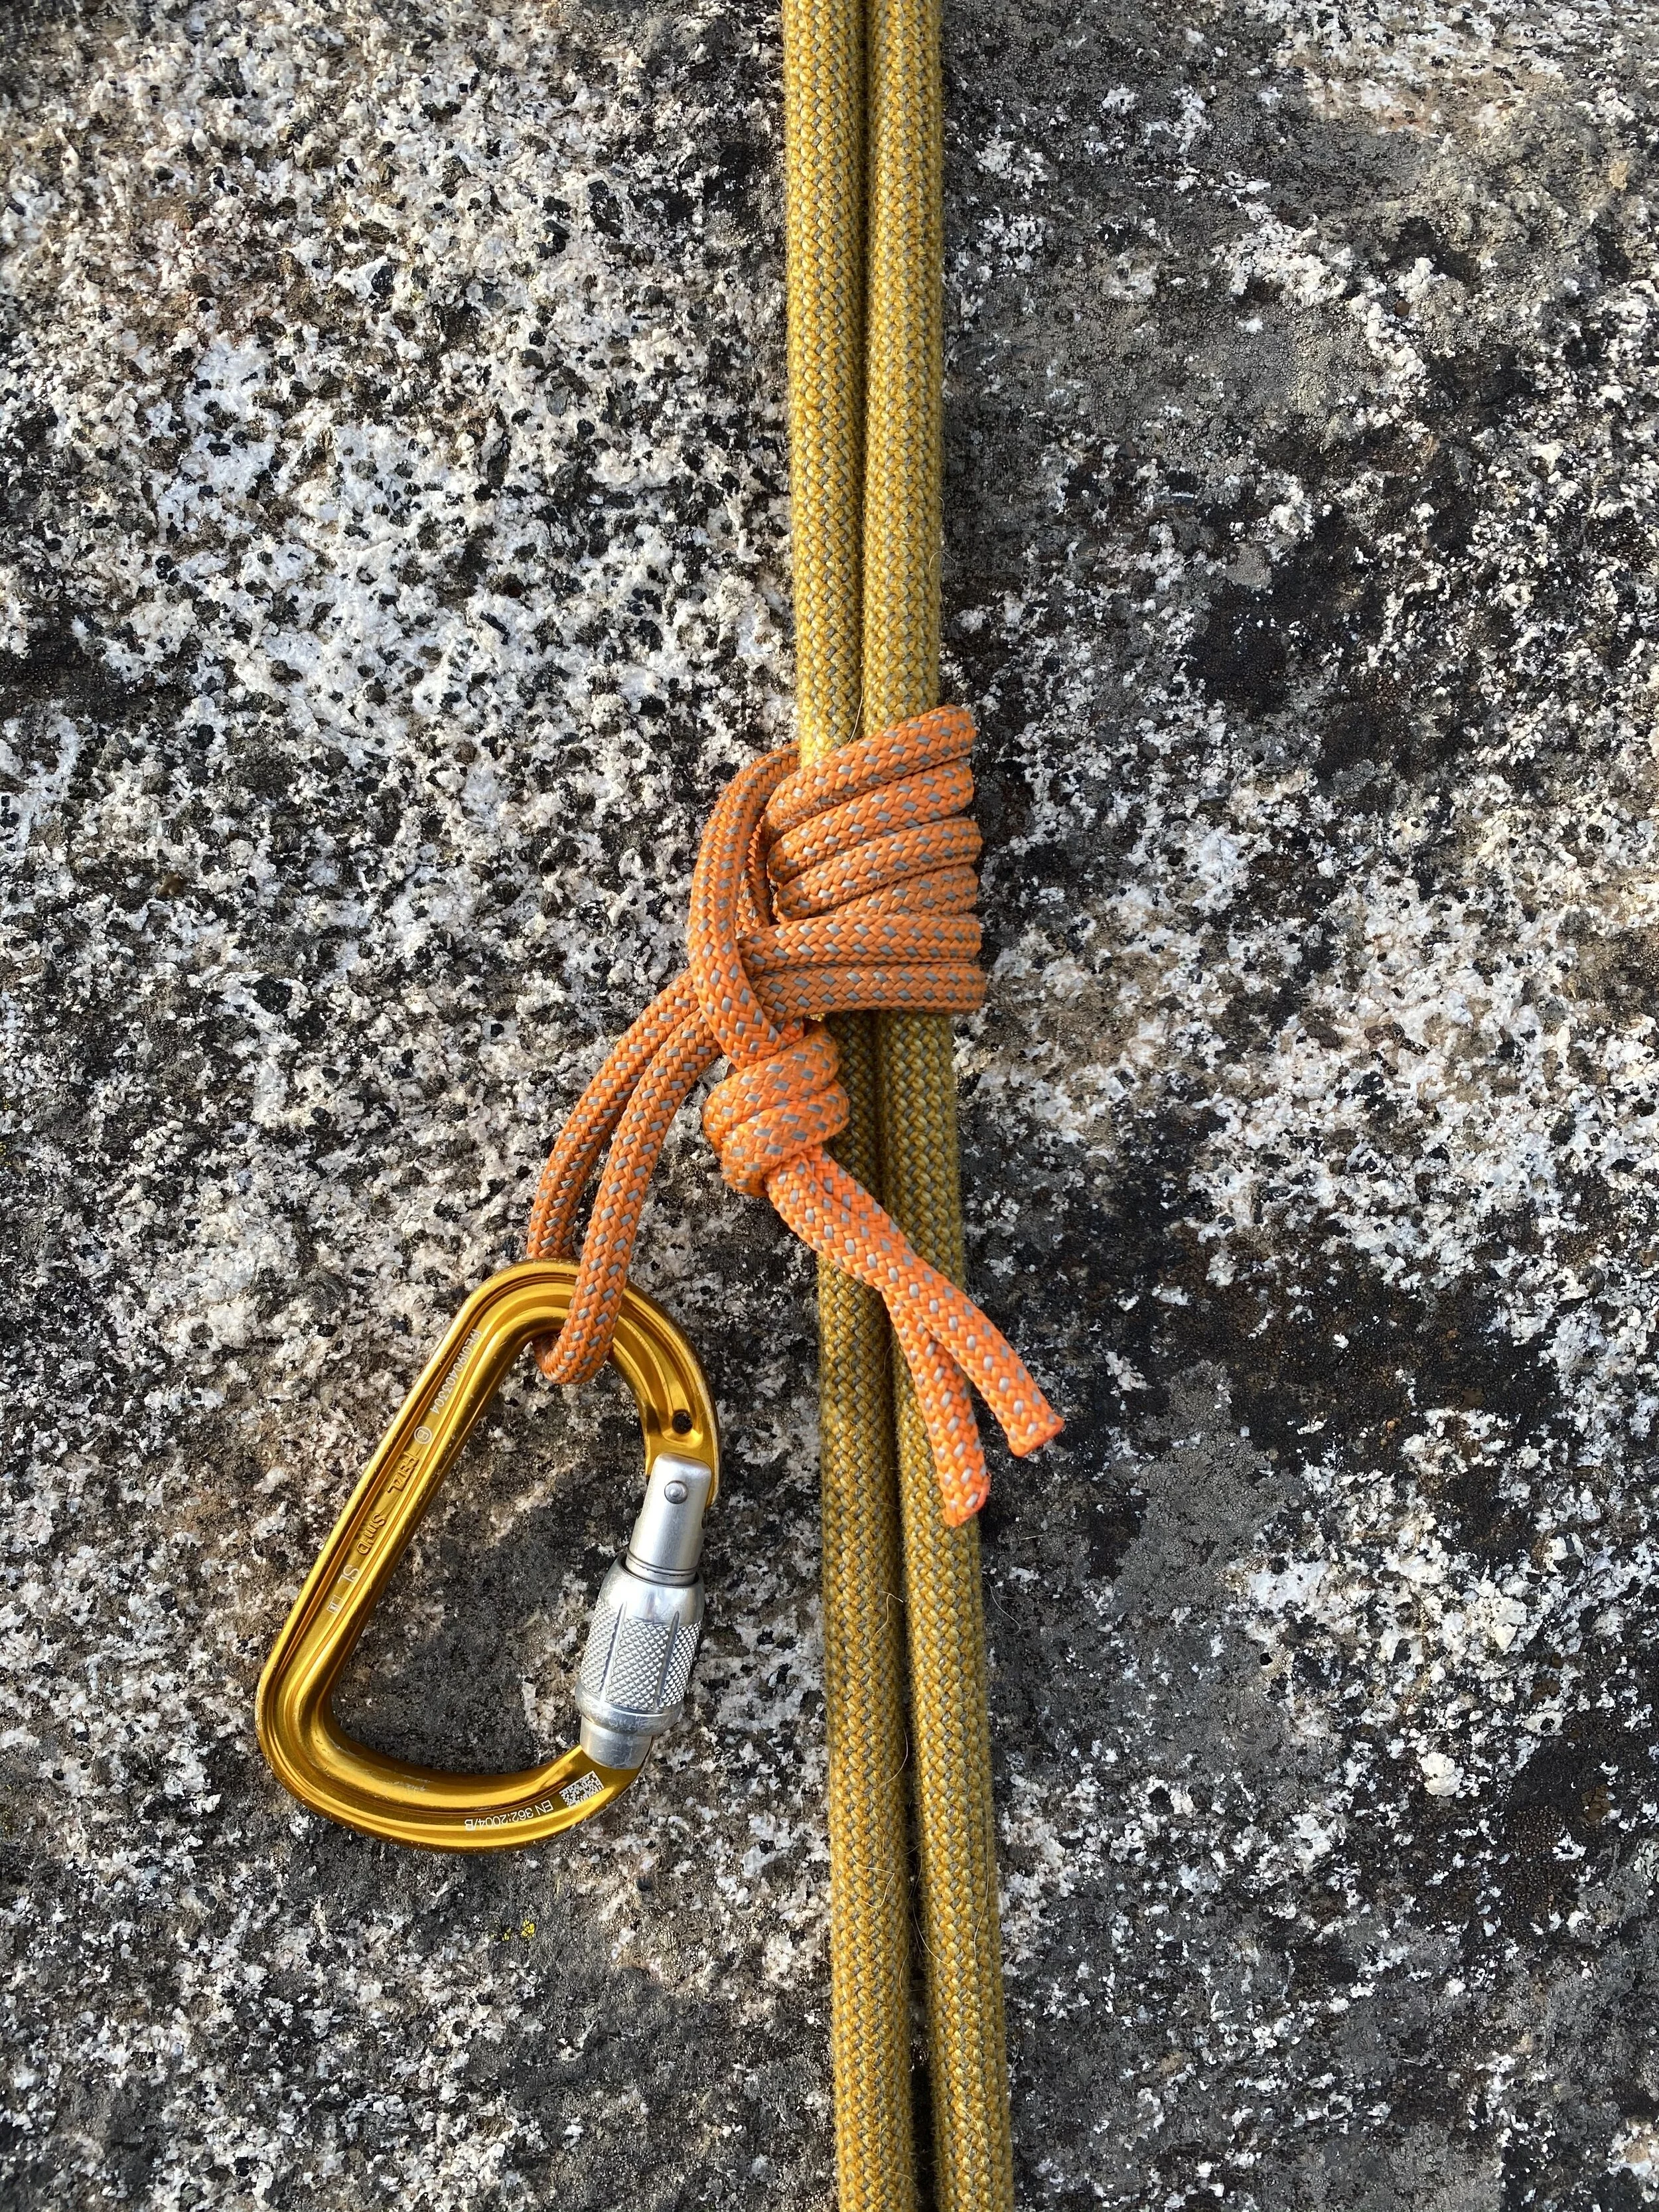
The Klemheist is high friction.

The Autoblock is low friction.
Back to the third hand.
Fireman’s Belay (Below the Rappel Device)
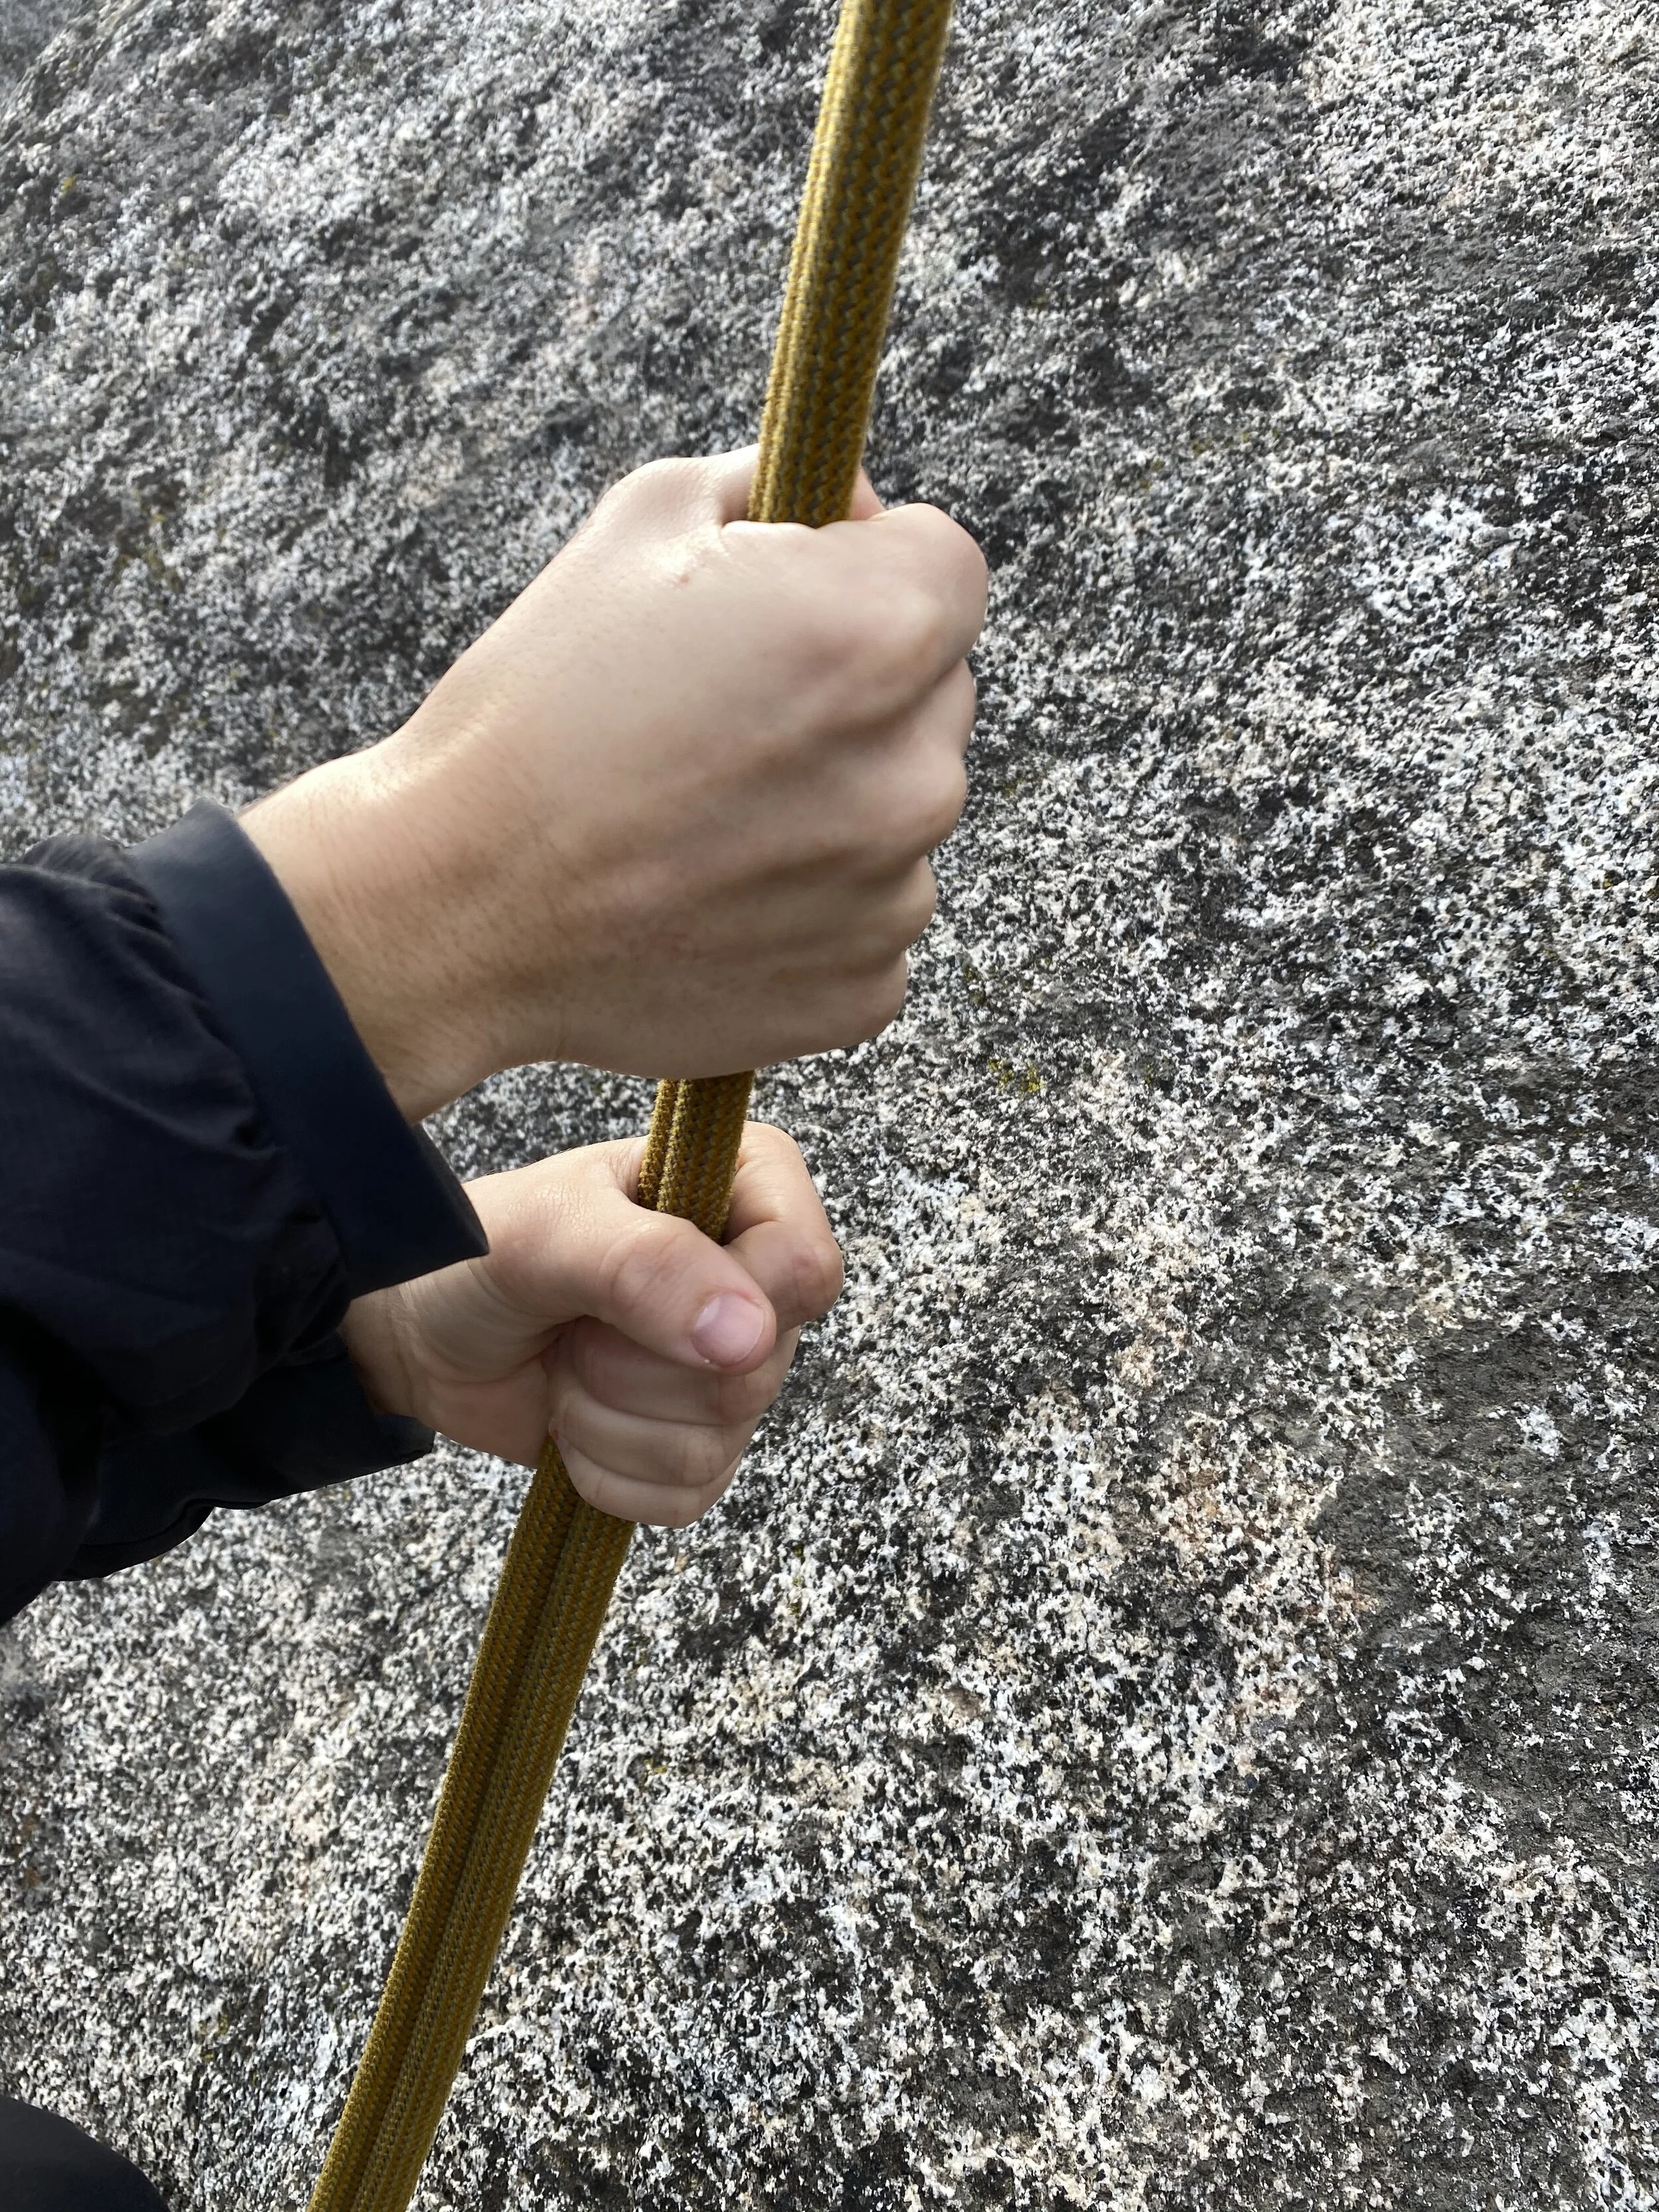
The Fireman’s Belay is the only strategy in this lineup that does not include a friction hitch. It sometimes gets overlooked and while it is frequently seen being used by the crag guppies, it’s not a technique to snob. If your partner is already at the bottom, they can provide a no fuss belay of sorts to back up your rappel. Have them hold the rope to provide a quite literal ‘third hand’ on the break strand.
To set up:
Thread your rappel device and attach it onto your belay loop.
Call to your partner below, “Fireman’s.”
Your partner holds the break strand slack and responds, “Belay On.”
Weight the device, maintaining your break strand, and detach your personal anchor.
Call to your partner, “Rappelling.”
Your partner responds, ‘Rappel On.”
To take up, make sure your belayer has slack in the break strand. Move your hips upward, take up the slack, pull down again to break and remove your personal anchor. To descend, feed rope through the belay device and rappel like normal. To engage the ‘third hand,’ call, “Take,” and have your partner pull down on the break strand to arrest your descent. To disengage, take control of the break strand again and call, “Slack,” to have your partner reintroduce slack underneath you.
Advantages:
This strategy requires no materials and no time to deploy.
The absence of a friction hitch in your system allows you to rappel unencumbered by additional friction, which may mean a more speedy descent.
Limitations:
It does require another whole ass person’s participation and attention. On a multi pitch rappel there are other tasks for your partner to perform.
Communication is critical and may be difficult on routes where line of sight and verbal commands are not available.
Too much slack, and your belayer will not be able to apply the emergency break readily. Not enough slack, and the break will apply unintentionally. Have your belayer test the Fireman’s to get a hands on understanding of how much slack is needed.
The Fireman’s is the most convenient backup for single pitch crag climbing. Use it for short rappels, or if several people are rapping in on the same line.
Preset Backup (Above the Rappel Device)
The Preset is not a technique for the novice climber. It earns its name because the hitch is already in position or, “preset,” to transitions to other advanced systems. It’s a bit of an old school method, but it should be understood, and appreciated. The third hand is used above the rappel device on the load strand.

Set Up:
Thread the rappel device and clip to your belay loop.
Install a classic prusik or a klemheist above the rappel device
Clip it to the rappel carabiner.
Double check your system
Rappel on.
Use the klemheist or the classic prusik, either will work fine in this orientation. Both block reliably under bodyweight and mind about the same; the autoblock minds much more smoothly, but will sometimes creep under load.
To take up, move your hips up, take in slack, and remove your personal anchor. The rappel device should mind the prusik, which should in turn reengage to capture your progress. This is hard to get right and is usually a pain.
To descend, place one hand on the hitch, and the other hand on the break strand. Slide the hitch down to disengage your back up and feed the rope through the rappel device. Make sure your hitch stays dressed and maintain a controlled descent speed. To engage the third hand, slide the hitch up rope to tension. Note: because the hitch is bearing the load, a backup knot is required to go hands free.
Advantages:
In this orientation, the hitch and rappel device work separately. The rappel device bares the load until the moment the hitch is engaged and the load is transferred.
When the hitch is fully disengaged, it applies little additional breaking power. This allows you to descend faster on rappels where friction is already high, for example: fat ropes, or at the top of a long rappel.
The weight transfer that precedes passing a knot on rappel, is seamless. With your hitch already in place or preset, it is easy to transfer your weight off your rappel device and perform your maneuver.
If your hair gets stuck in you rappel device, your hitch is again preset to transfer your weight from the device to the hitch and free your hair.
The hitch is preset to transition from descending to ascending and then back to descending if need be. It operates a bit like a really terrible grigri and the progress capture system isn’t smooth, but it’s a feature. If your belay device doesn’t have a ‘guide mode,’ this is an option for emergency ascents.
Limitations:
The hitch has has a tendency to grip suddenly and unexpectedly, with a propensity to jam, even under partial body weight. This can easily become impossible to release until your weight is transferred to another device and the hitch is unloaded. To use this technique in a vertical environment, you must know how to do load transfers and how to unjam a stuck prusik.
If the cord used to tie the hitch is too long, it could engage and move out of reach, leaving you... high and dry. (see what i did there?). Make sure the maximum distance your prusik can move away from you is still within easy reach, closer than you think. This mistake has caused fatality in an over hanging environment.
The hitch cannot be applied gradually, but is instead is either ‘on’ or ‘off.’ On thin ropes or rappels with heavy loads, the hitch will not help to control of your speed.
When the hitch is engaged, the load is resting on the cord which is not appropriate to be your lone attachment to the rope. Maintain your breakstrand, tie off the device, or tie a backup knot underneath it to work hands free.
The preset is the least behaved and has the highest tendency to be frustrating. I really only use this technique on long rappels when there is a knot that must be passed. It may have potential as an emergency ascending system, but I almost always have smoother tools on hand for such things.
Leg Loop Backup (Below the Rappel Device)
The Leg Loop Backup makes a leap forwards in the in the usability of the third hand. Use the third hand below the rappel device clipped to the leg loop. Because the hitch is on the break strand, it uses mechanical advantage to amplify the breaking friction of the rappel device. Same as the belay hand, the hitch has significant advantage over the load. Important Note: this technique does introduce several dangerous failure modes that may go missed.
The Autoblock works best in this orientation because it applies the least amount of friction and will mind more smoothly than the Klemheist and the Classic Prusik.

Set up:
Install the autoblock on the rope
Clip it to your leg loop.
Pull up slack between the hitch and the anchor.
Thread the rappel device above the hitch
Clip it to your belay loop.
Do your double checks.
Rappel on.
To take up involves a bit of a shuffle. Slide the hitch well down the breakstrand, move your hips up, take in slack, engage the break, and remove your personal anchor. To move the hitch upwards with one hand is near impossible; instead rappel back to it before continuing. To descend, place one hand on the hitch and one hand on the break strand below it, slide the hitch down to disengage and feed the rope through the rappel device. Make sure your prusik stays dressed and maintain a controlled descent speed. To engage he third hand, slide the hitch up to tension. Make sure it is dressed and sets properly before going hands free.
Advantages:
The hitch has mechanical advantage over the load.
The hitch won’t unexpectedly, bite or jam like the Preset — Yay!
The level of friction applied by the hitch can be feathered to choose the desired breaking power for an altogether smooth descent.
There is much improved control on thin ropes or with a heavy loads.
The load on the hitch is minimal. A back up knot isn’t required to work hands free.
Limitations:
Even when the hitch is disengaged, the small amount of friction it produces has mechanical advantage. If the rest of your system is high friction, the start of your descent can be slow. At the beginning of a long rappel, especially with thick or fuzzy ropes, you will need to shuffle the rope through your system until you can gain effective momentum.
If the prusik is long enough to reach the rappel device, the prusik will either jam or be defeated causing an uncontrolled fall. Make sure there is distance between the hitch and the rappel device. If needed, shorten your hitch.
Be careful not to rotate your hips while working ‘hands free.’ This can lunge the autoblock into the rappel device, jamming or even defeating the break and causing an uncontrolled fall. Use a backup knot while working hands free.
On a leg loop with adjustable buckles, make sure to clip the carabiner on the inside—Away from the buckle! Clipped on buckle side, the carabiner can open the buckle causing the leg loop and the third hand to fail, resulting in an uncontrolled fall. Some harnesses have a sewn pocket in the webbing above the buckle designed to capture the carabiner and avoid this hazard.
The Leg Loop Backup is one must know the failure modes in order to use it. Set it anytime you are short on materials or to manage your own back up on single pitch rappels.
Extended Rappel (Below the Rappel Device):
The Extended Rappel is the business. Use a sling or designated personal anchor to extend your rappel device away from your body. (There are many methods used to extend which I’m going to designate as a separate conversation. We’ll stay focused on the backup.) Clip the third hand to your belay loop. Because the hitch is on the break strand, it has significant mechanical advantage over the load.}
An autoblock is best as it applies the least amount of friction and will mind more smoothly than other hitches in this orientation.

Set up:
Set up your extension.
Install the autoblock on the rope
Clip it to your leg loop
Pull up slack between the hitch and the anchor.
Thread the rappel device above the hitch
Clip it to your extension.
Do your double checks.
Rappel on.
To take up, use the same shuffle as the Leg Loop method. Slide the hitch down the break strand, move your hips up and take in slack, remove your personal anchor. To descend, place one hand on the hitch and one hand on the break strand above it, slide the hitch down to disengage and feed the rope through the rappel device. Make sure your prusik stays dressed and maintain a controlled descent speed. To engage the break, slide the hitch up to tension. Make sure it is dressed and sets properly before going hands free.
Advantages:
The extra length allows both you and your partner to set up and check each rappel rig, prior to rappelling one at a time. The extra safety check is obviously helpful for guides who are babysitting, but also helpful if your team is fatigued, or the light is fading.
With the device extended, the working space is higher, out in front of you. When you rappel with the haul bag or a rescue victim, your extra luggage is easier to manage.
The third hand is clipped to the belay loop which has fewer pitfalls than the leg loop.
The hitch has mechanical advantage over the load.
The hitch won’t unexpectedly bite or jam — Seriously, praise Mom!
The level of friction can be feathered for a smooth descent.
The control on thin ropes or heavy loads is improved.
A back up knot isn’t required to work hands free.
Limitations
If the rest of your system is high friction, your initial descent can be slow and cumbersome. With fat fuzzy ropes, you may have to shuffle the rope through your system to gain momentum.
If the prusik is too long and reaches the rappel device, the prusik will either jam or be defeated. Make sure there is distance between the hitch and the rappel device. If needed, shorten your hitch. This is markedly improved with the extension.
Long hair maybe more likely to snag or even jam the rappel device. This could really leave you… stranded… (like, ‘stuck,’ but also like, ‘strands of hair’…eh?) Anyways; keep your hair up and back; braids get caught too!
When rappelling over an edge or past a roof, the device can catch awkwardly on the lip. Keep your butt low and your extension short enough, (60m or less), and this is not a problem.
This technique does require additional materials, room on your harness, and time to deploy. It’s worth it, on a multipitch descent, but sport climbers may find it a nuisance.
The extended rappel is all the rage. If you’re new to the rappel game, this is your jam. It’s also a standard in guiding, multi pitch, bigwall, and self rescue. When there’s work to do, extend.
Summary
The back up is easy to get right. If you had to choose just one, the Extended Rappel will get it done. By the way, you don’t have to choose just one; learn them all. The Fireman’s will save you time at the crag. The Preset is valuable for knot passing. The Leg Loop is both minimalist and super smooth. Experiment with the number of wraps, different prusik lengths, and different cord diameters to understand the nuances of each system. Practice in a controlled environment.
Look good, have fun, climb safe.


